Saved Filters
The Saved Filters feature allows you to save frequently used filter selections and reuse them later. This helps you prepare recurring reports without selecting the same filter values each time.

Saved filters are available in both course-level reports and the Multi-Course Report.
Creating a Saved Filter
To save your current filter selections:
- Choose the filter values you want to reuse, then click Filter.
- A Save filter button will appear. Click it to open the save window.
- Enter a descriptive Filter name, such as “Active students” or “Students from Canada”.
- Choose where the filter should be available: This course or All courses.
- Optionally, select Share with other users who can view the report.
- Click Save filter to save your settings.
Use a clear name that makes the filter easy to identify in the Saved filters dropdown.
Filter Availability
When saving a filter from a course-level report, you can choose:
- This course: Makes the saved filter available within the current course.
- All courses: Makes the saved filter available across courses.
This allows you to keep course-specific filters separate from filters you use more broadly.
Note: If a saved filter includes a group from one course and you make it available in All courses, it can still be used safely in another course. If that group is unavailable in the other course, the report handles the unavailable group safely when applying the filter.
Using a Saved Filter
Open the Saved filters dropdown and select the filter you want to reuse.
In course-level reports, this dropdown appears beside the Filters heading. In the Multi-Course Report, it appears below the report introduction.
Saved filters let you return to a named set of criteria instead of entering the same selections again.
Sharing a Saved Filter
Select Share with other users who can view the report to make the saved filter available to other report users.
Leave this option unchecked if you do not want to share the filter.
Sharing a filter does not grant access to the report. Other users must already have permission to view it.
Editing a Saved Filter
Select a saved filter from the Saved filters dropdown. The Edit button will appear, allowing you to open the filter’s settings and make changes.
Note: Users you share the filter with can apply it, but they cannot edit or delete it.
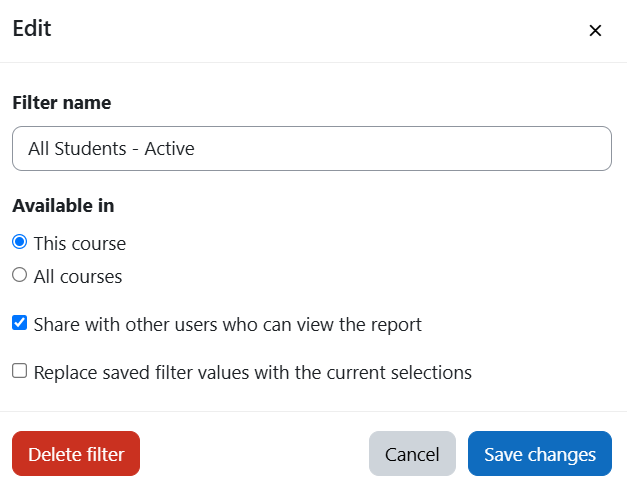
You can:
- Change the filter name.
- Change its availability.
- Enable or disable sharing.
- Replace its saved values with your current filter selections.
Select Save changes when you finish.
Replacing Saved Filter Values
To update the criteria stored in an existing saved filter:
- Set the new filter values in the report.
- Open the saved filter’s Edit window.
- Select Replace saved filter values with the current selections.
- Select Save changes.
Leave this option unchecked when you only want to change the name, availability, or sharing settings while keeping the existing filter values.
Deleting a Saved Filter
Open the saved filter’s Edit window and select Delete filter to remove a filter you no longer need.
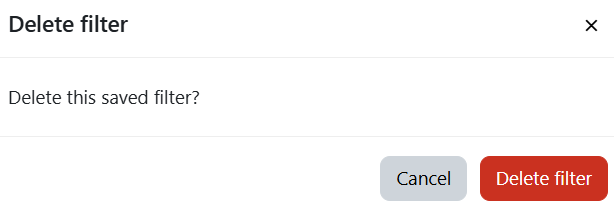
Deleting a saved filter removes the saved selection, not the underlying report data.
Purpose
Saved Filters help administrators, teachers, and managers repeat common reporting tasks with less manual setup. They are useful for recurring reviews of specific learner groups and for sharing consistent filter selections with other users who can view the report.
Was this page helpful?